SOURDOUGH
Starting sourdough can feel overwhelming, but I promise—it’s worth it! From your very first bubbly starter to baking that perfect golden loaf, this journey is full of learning, experimenting, and, of course, delicious results. Whether you’re here to master the basics or take your sourdough skills to the next level, I’m here to help every step of the way. Let’s make this process simple, fun, and totally doable together!
INGREDIENTS
active starter
water
bread flour
salt
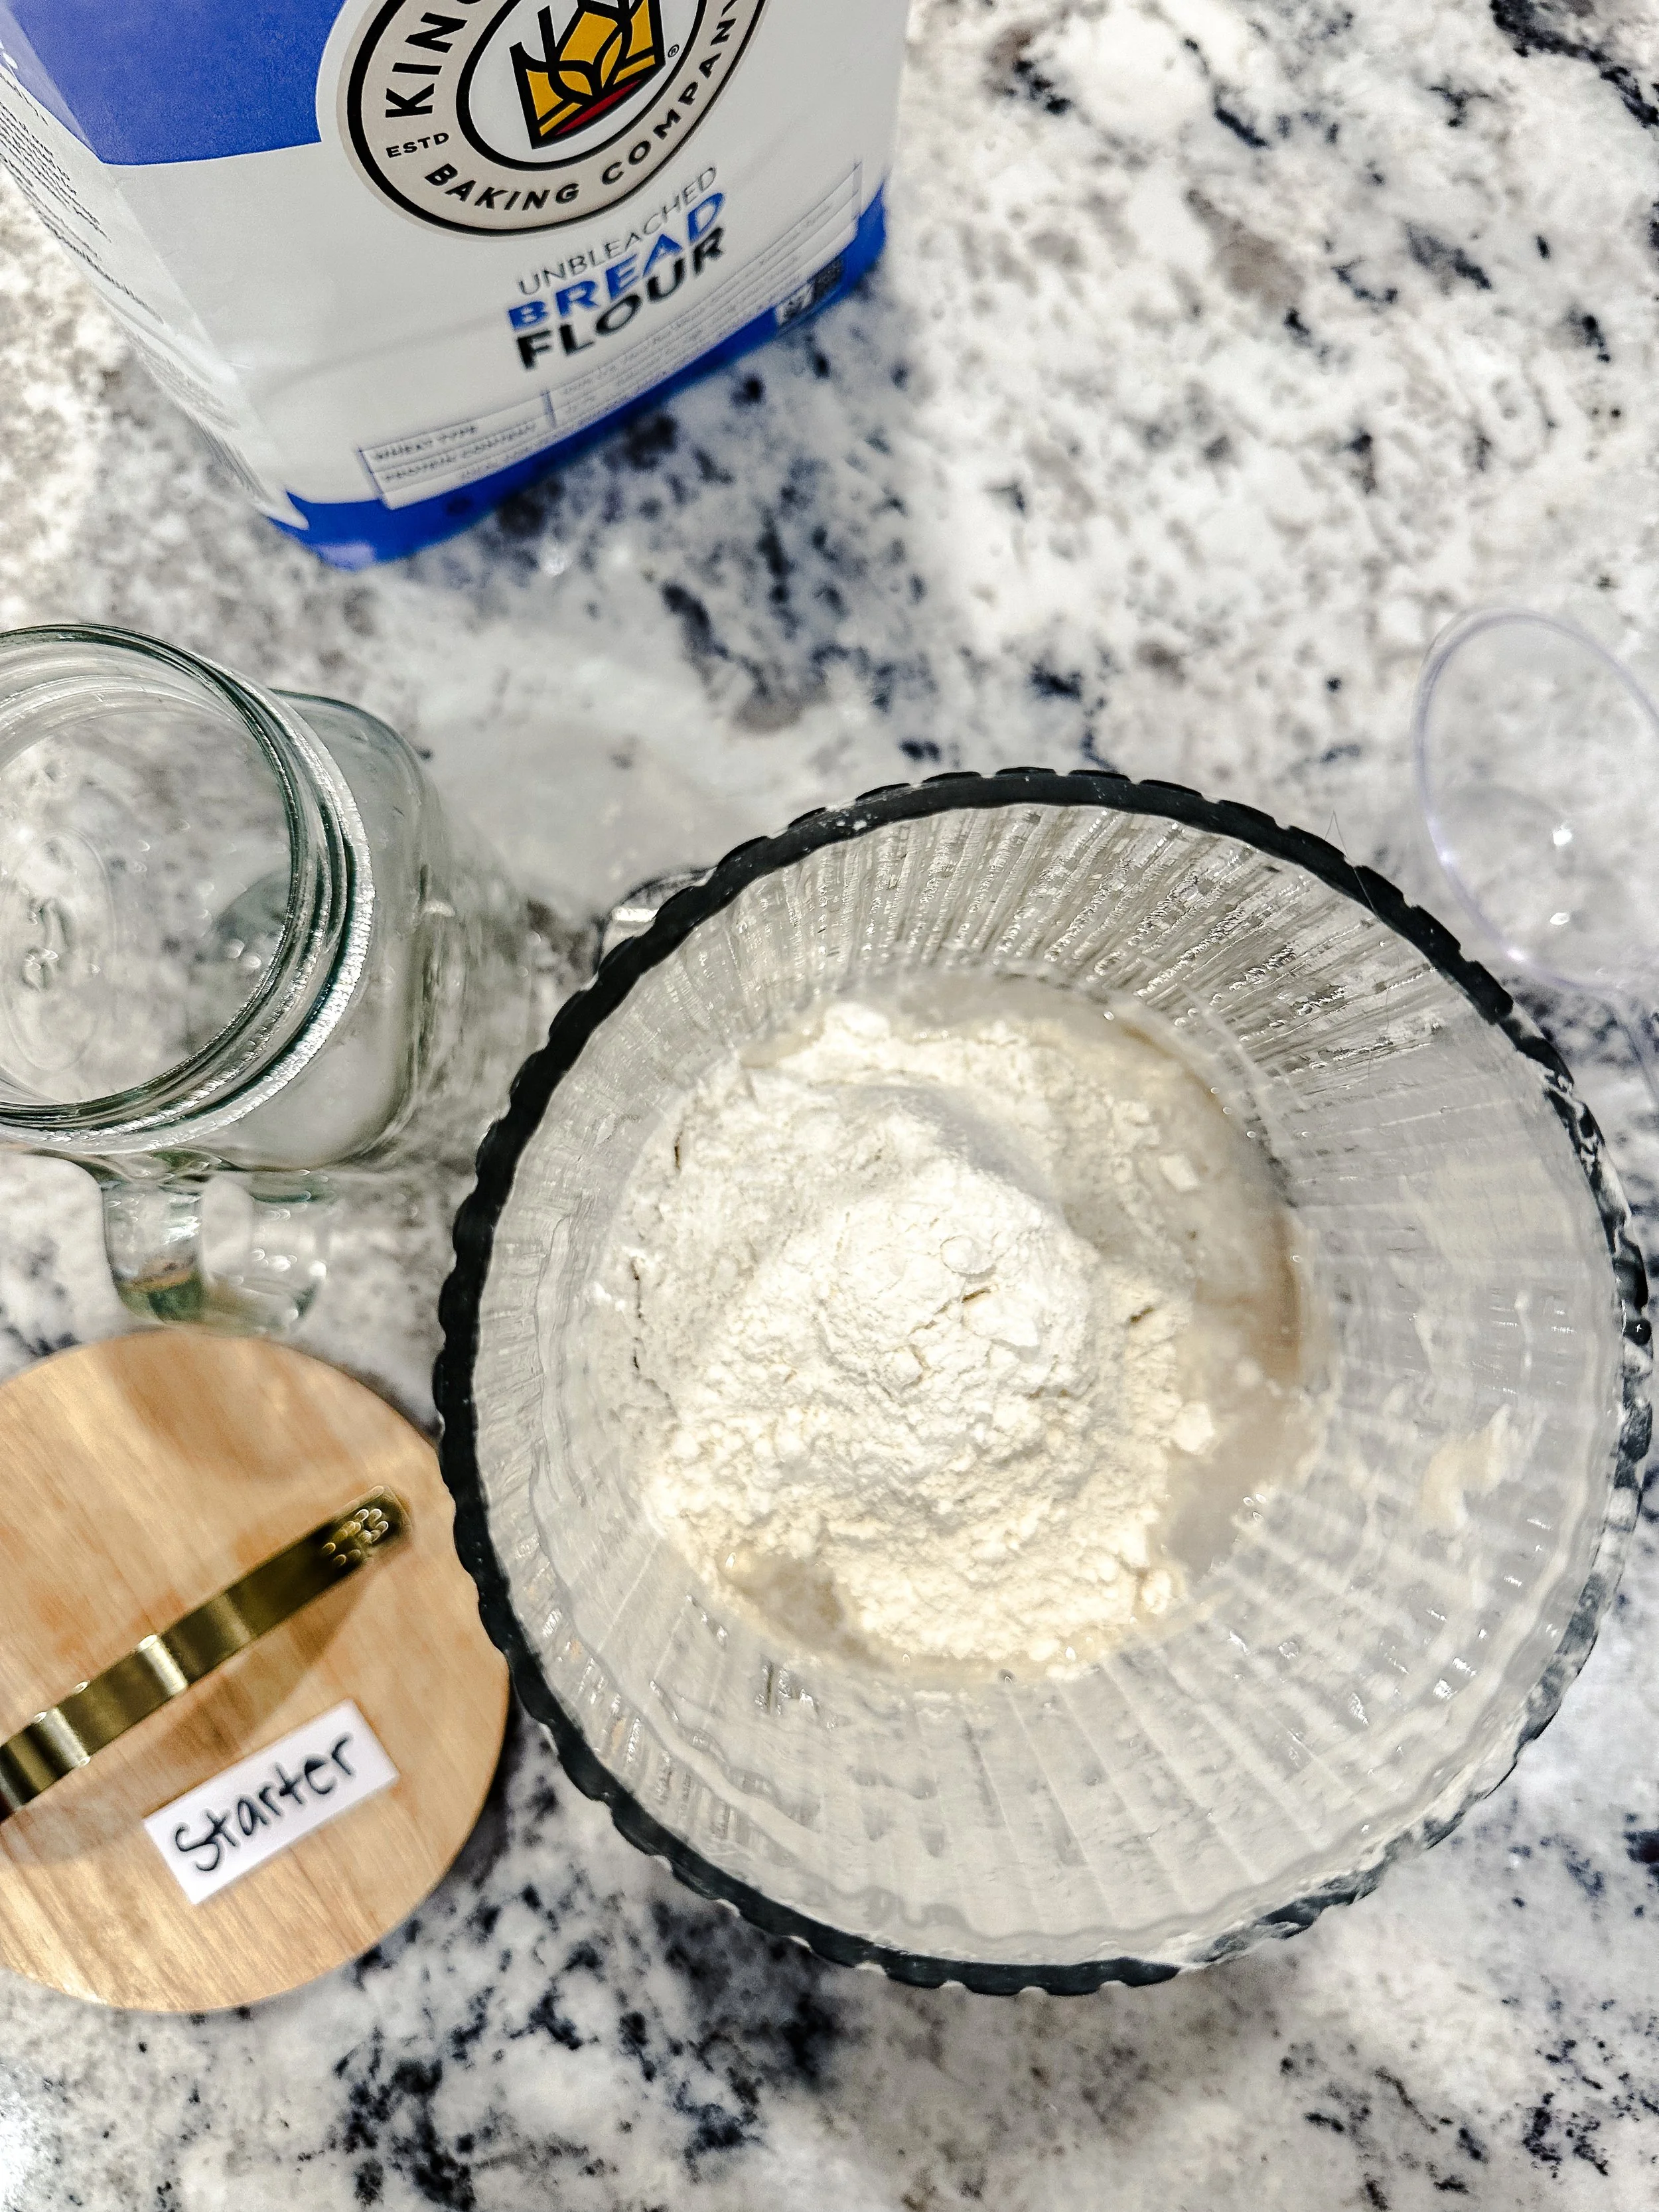
What is starter?
A sourdough starter is a natural leavening agent made from just flour and water. Over time, wild yeast and beneficial bacteria from the environment ferment the mixture, creating the bubbles and tangy flavor that make sourdough bread so unique. This living culture replaces commercial yeast, giving your bread a deep, complex taste and a beautifully chewy texture. With regular feeding and care, a sourdough starter can last for years—even generations—becoming the heart of every homemade loaf!
Feeding your starter.
Stick to the Ratio – A common feeding ratio is 1:1:1 (equal parts starter, flour, and water by weight). For example, if you have 50g of starter, feed it with 50g flour and 50g water.
Use the Right Flour – Unbleached all-purpose flour works well, but bread flour can give your starter an extra boost.
Water Matters – Use filtered or dechlorinated water, as chlorine can inhibit yeast growth. Let tap water sit out for a few hours if needed.
Feed at the Right Time – If kept at room temperature, feed your starter once or twice a day. If storing it in the fridge, feed it once a week.
Look for the Bubbles – A healthy starter should be bubbly and rise after feeding. If it's sluggish, try warmer temperatures or switching up the flour.
Watch for Peak Activity – Your starter is ready to use when it has doubled in size and is full of bubbles, usually 4-8 hours after feeding.
How do I feed my starter?
The amount you need to feed your starter depends on how much you want to bake. One loaf = 10g (starter in the jar) + 50g flour + 50g water. 10+50+50 = 110g ; Two loaves = 20g (starter in the jar) + 100g flour + 100g water.
When your starter has peaked and you have what you need to bake with you will have what is called, “discard.” You can place your discard in the fridge with a lid on it and use for discard recipes. There are SO many good ones. When using the discard, you can use it right out of the fridge. You do not have to wait for it to come to room temperature.
Let’s make some bread!
What you’ll need
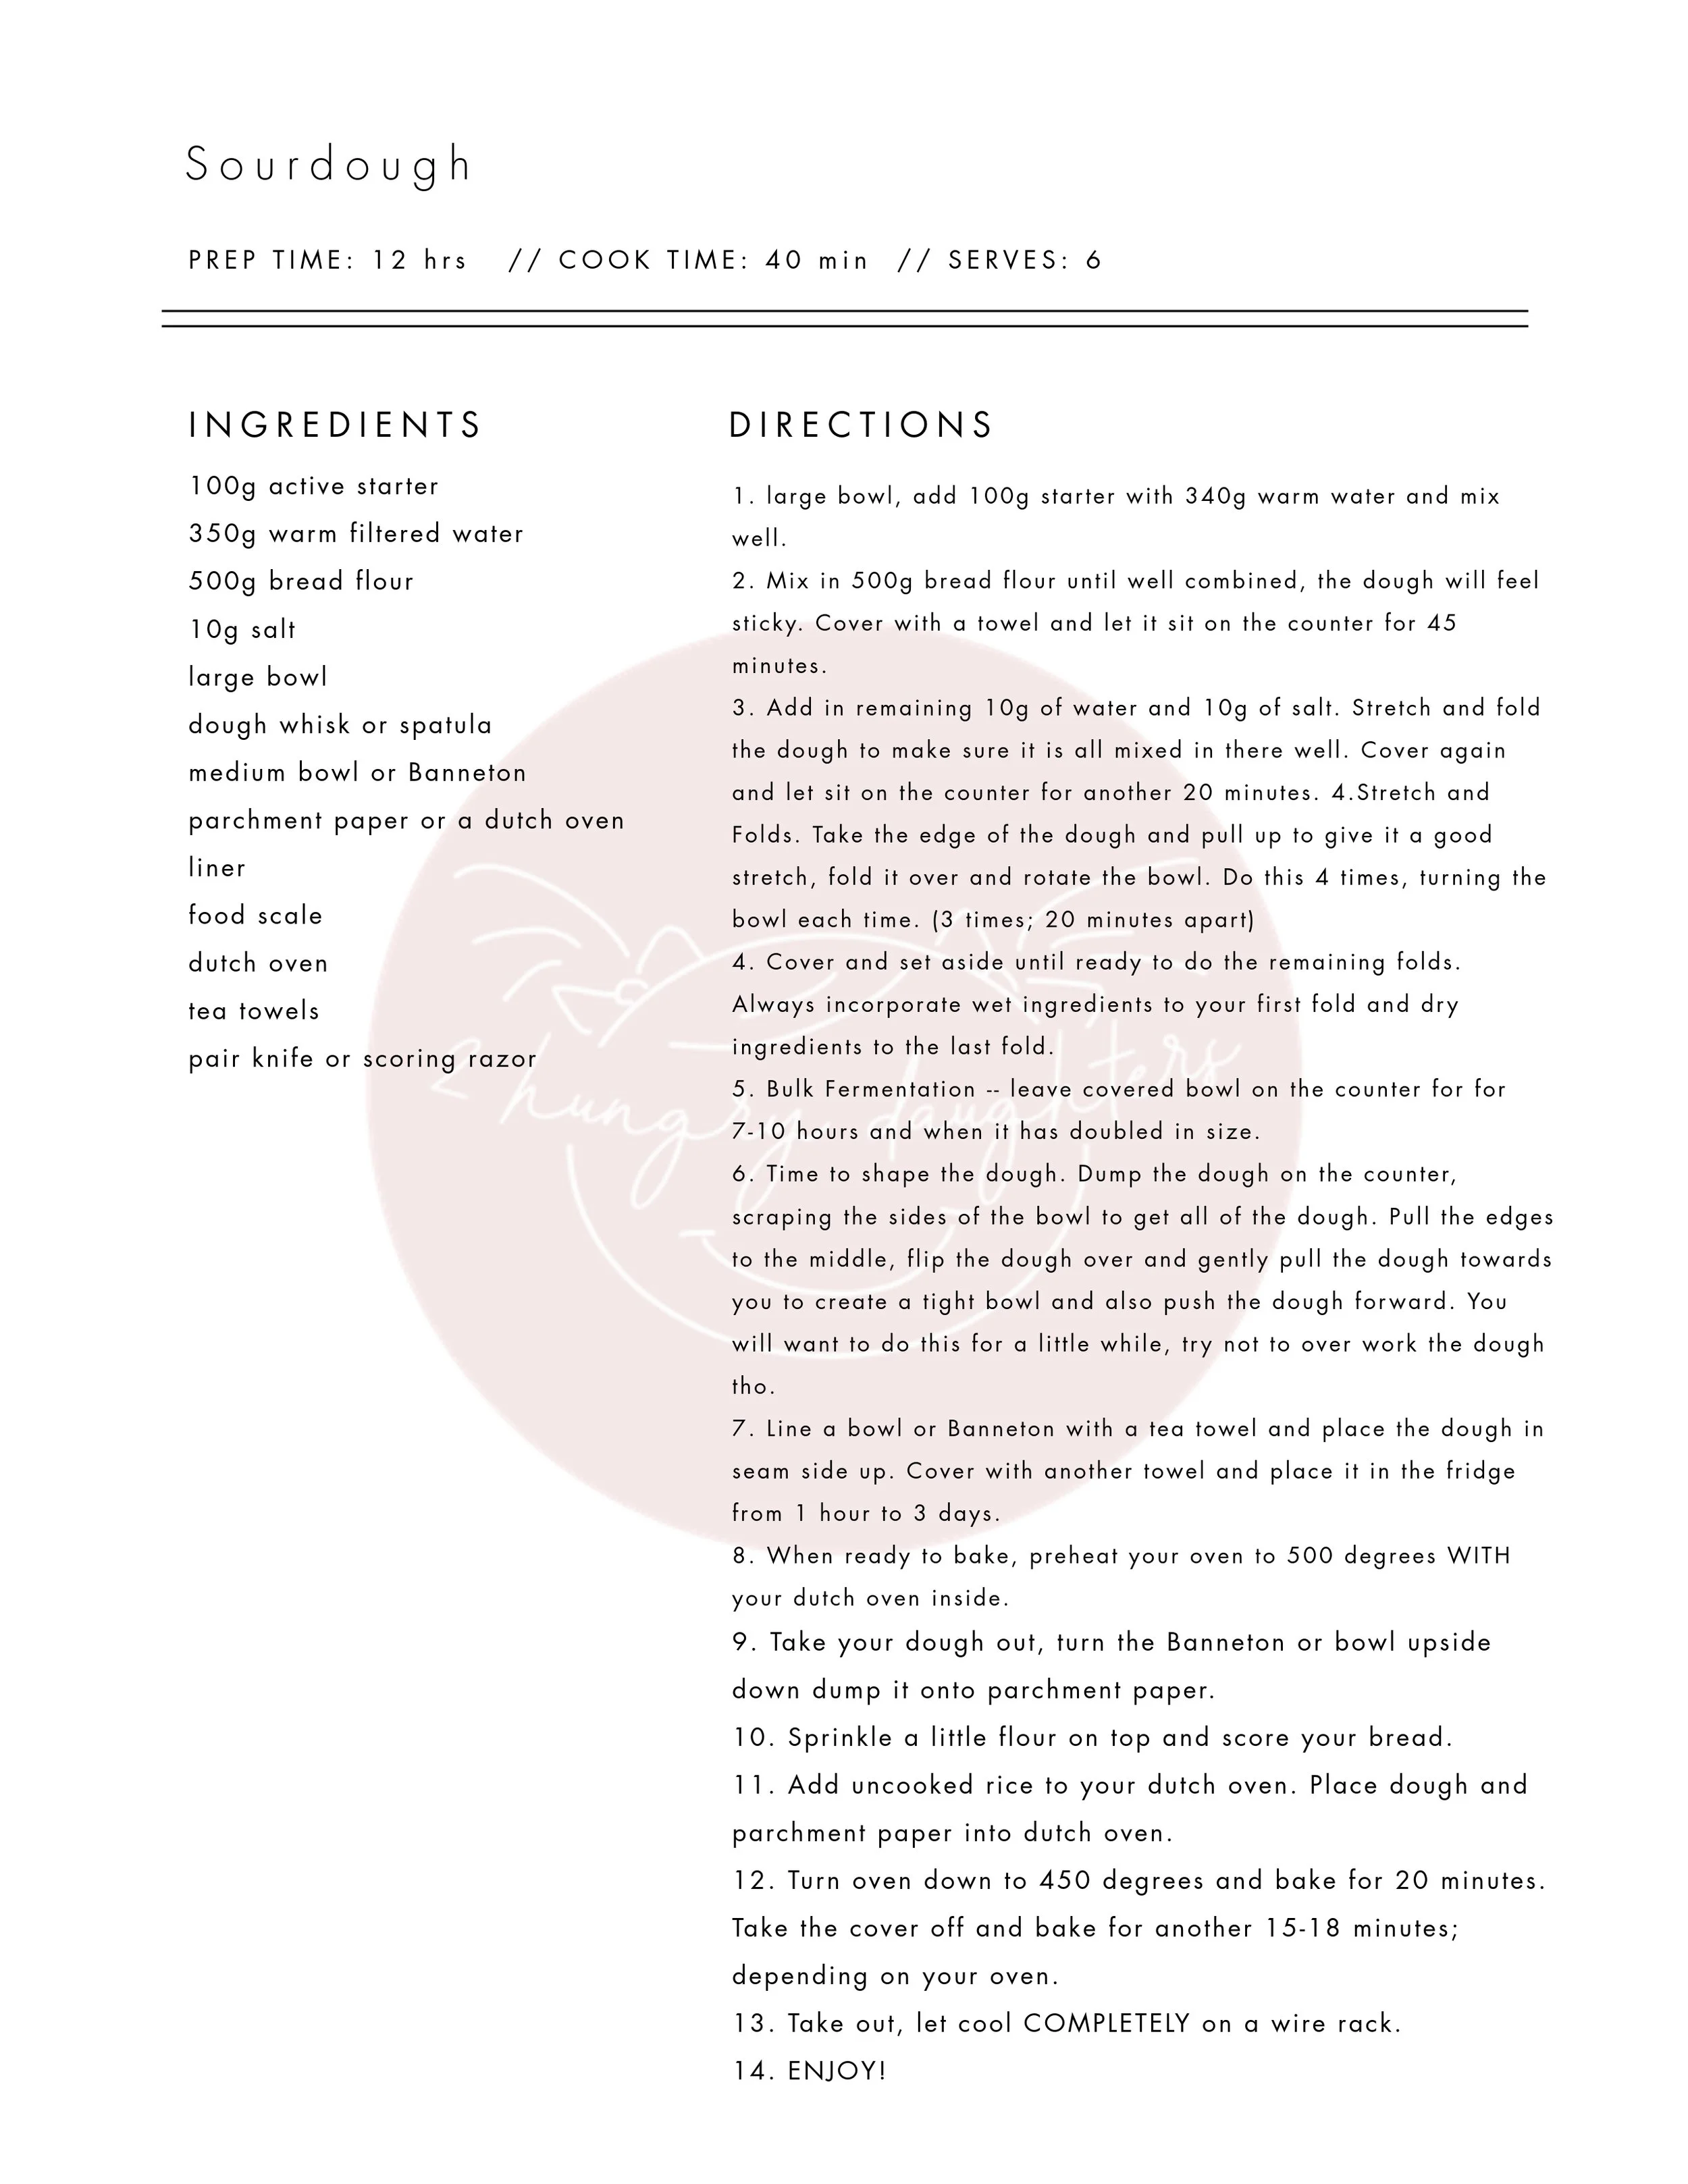
100g active starter
350g warm filtered water
500g bread flour
10g salt
large bowl
dough whisk or spatula
medium bowl or Banneton
parchment paper or a dutch oven liner
food scale
dutch oven
tea towels
pair knife or scoring razor
Instructions
In a large bowl, add 100g starter with 340g warm water and mix well.
Mix in 500g bread flour until well combined, the dough will feel sticky.
Cover with a towel and let it sit on the counter for 45 minutes.
Add in remaining 10g of water and 10g of salt. Stretch and fold the dough to make sure it is all mixed in there well. Cover again and let sit on the counter for another 20 minutes.
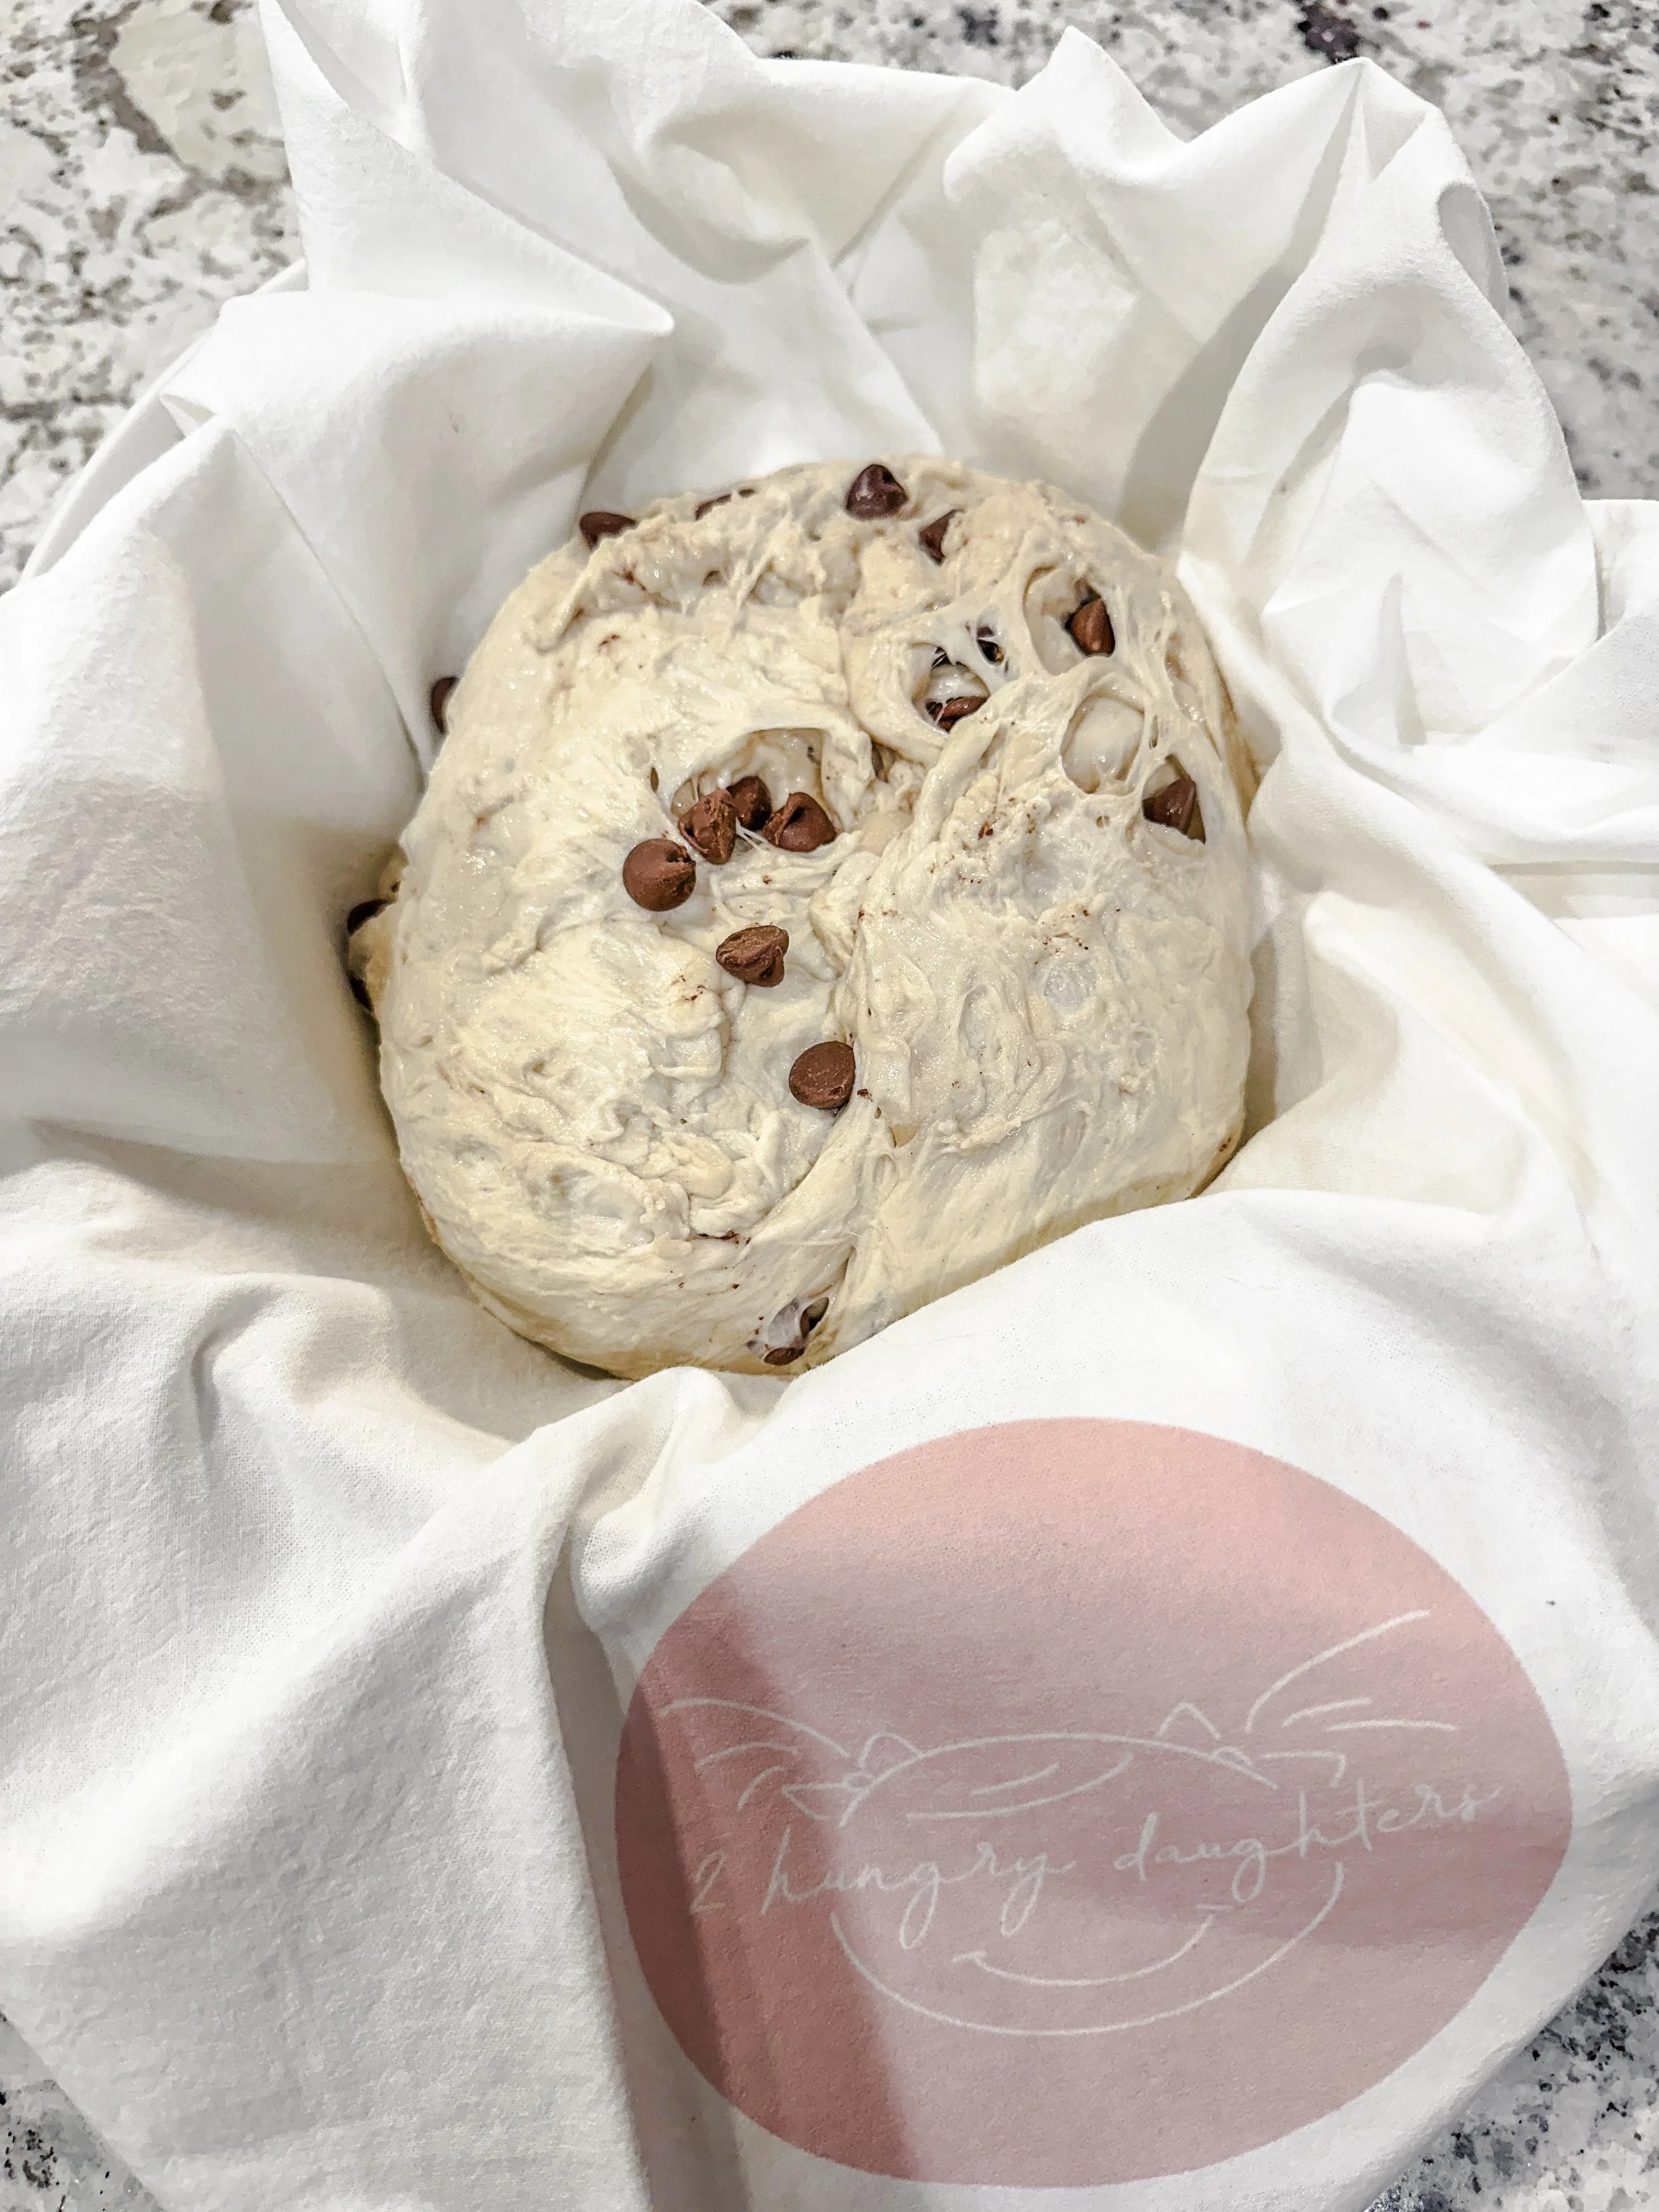
Time for Stretch and Folds!! You will do this 3 separate times; 20 minutes apart. You can look online at how to stretch and fold your sourdough. It is very easy to do. Take the edge of the dough and pull up to give it a good stretch, fold it over and rotate the bowl. Do this 4 times, turning the bowl each time.
Cover and set aside until ready to do the remaining folds. You will notice the dough will get smoother each time. Also; if you are daring and bold and want to add ingredients. Always incorporate wet ingredients to your first fold and dry ingredients to the last fold.
Once your stretch and folds are done we will head into bulk fermentation; basically the dough is going to sit in the bowl covered for 7-10 hours and double in size. I do exactly 7 hours but do whatever works with your schedule.
After bulk fermentation is over, you will shape the dough and pop it in the fridge for cold proofing. Dump the dough on the counter, scraping the sides of the bowl to get all of the dough. Pull the edges to the middle, flip the dough over and gently pull the dough towards you to create a tight bowl and also push the dough forward. You will want to do this for a little while, try not to over work the dough tho. Again, you can look online at how to shape sourdough.
Line a bowl or Banneton with a tea towel and place the dough in seam side up. Cover with another towel and place it in the fridge from 1 hour to 3 days. I love to cold proof overnight and bake my loaves in the morning.
TIME TO BAKE!!!!!!!!
Preheat your oven to 500 degrees WITH your dutch oven inside.
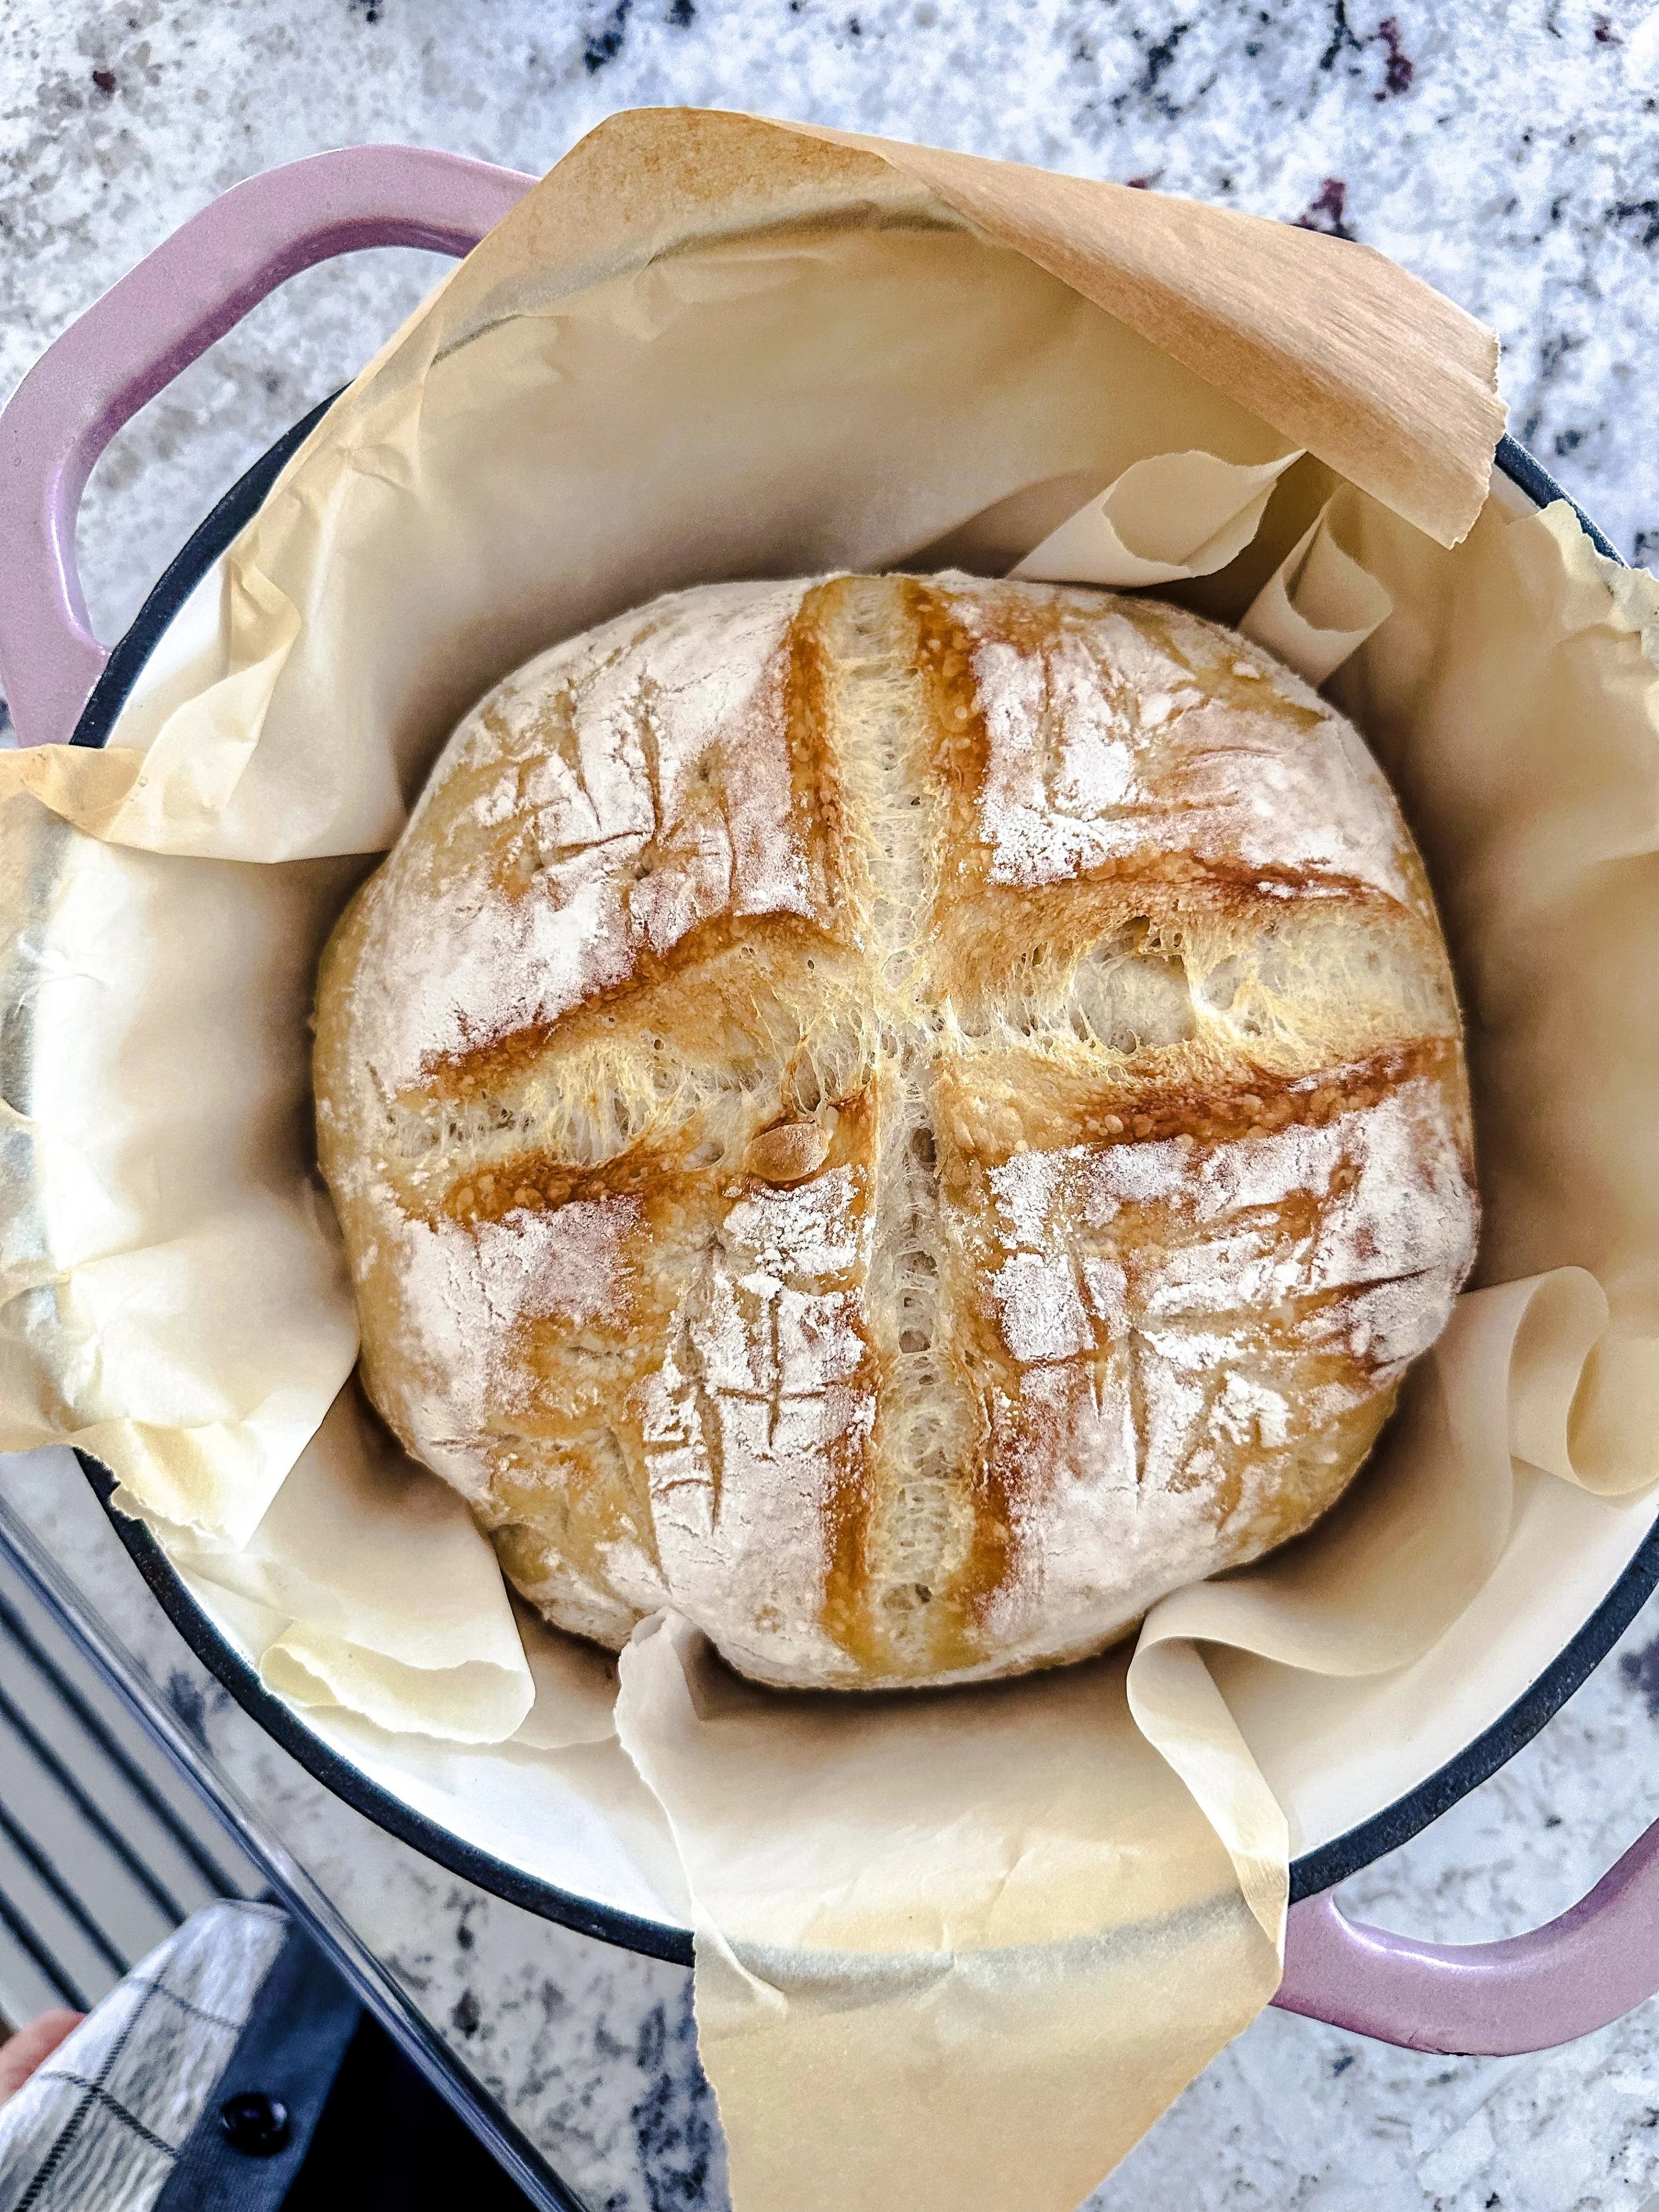
Take your dough out, turn the Banneton or bowl upside down dump it onto parchment paper.
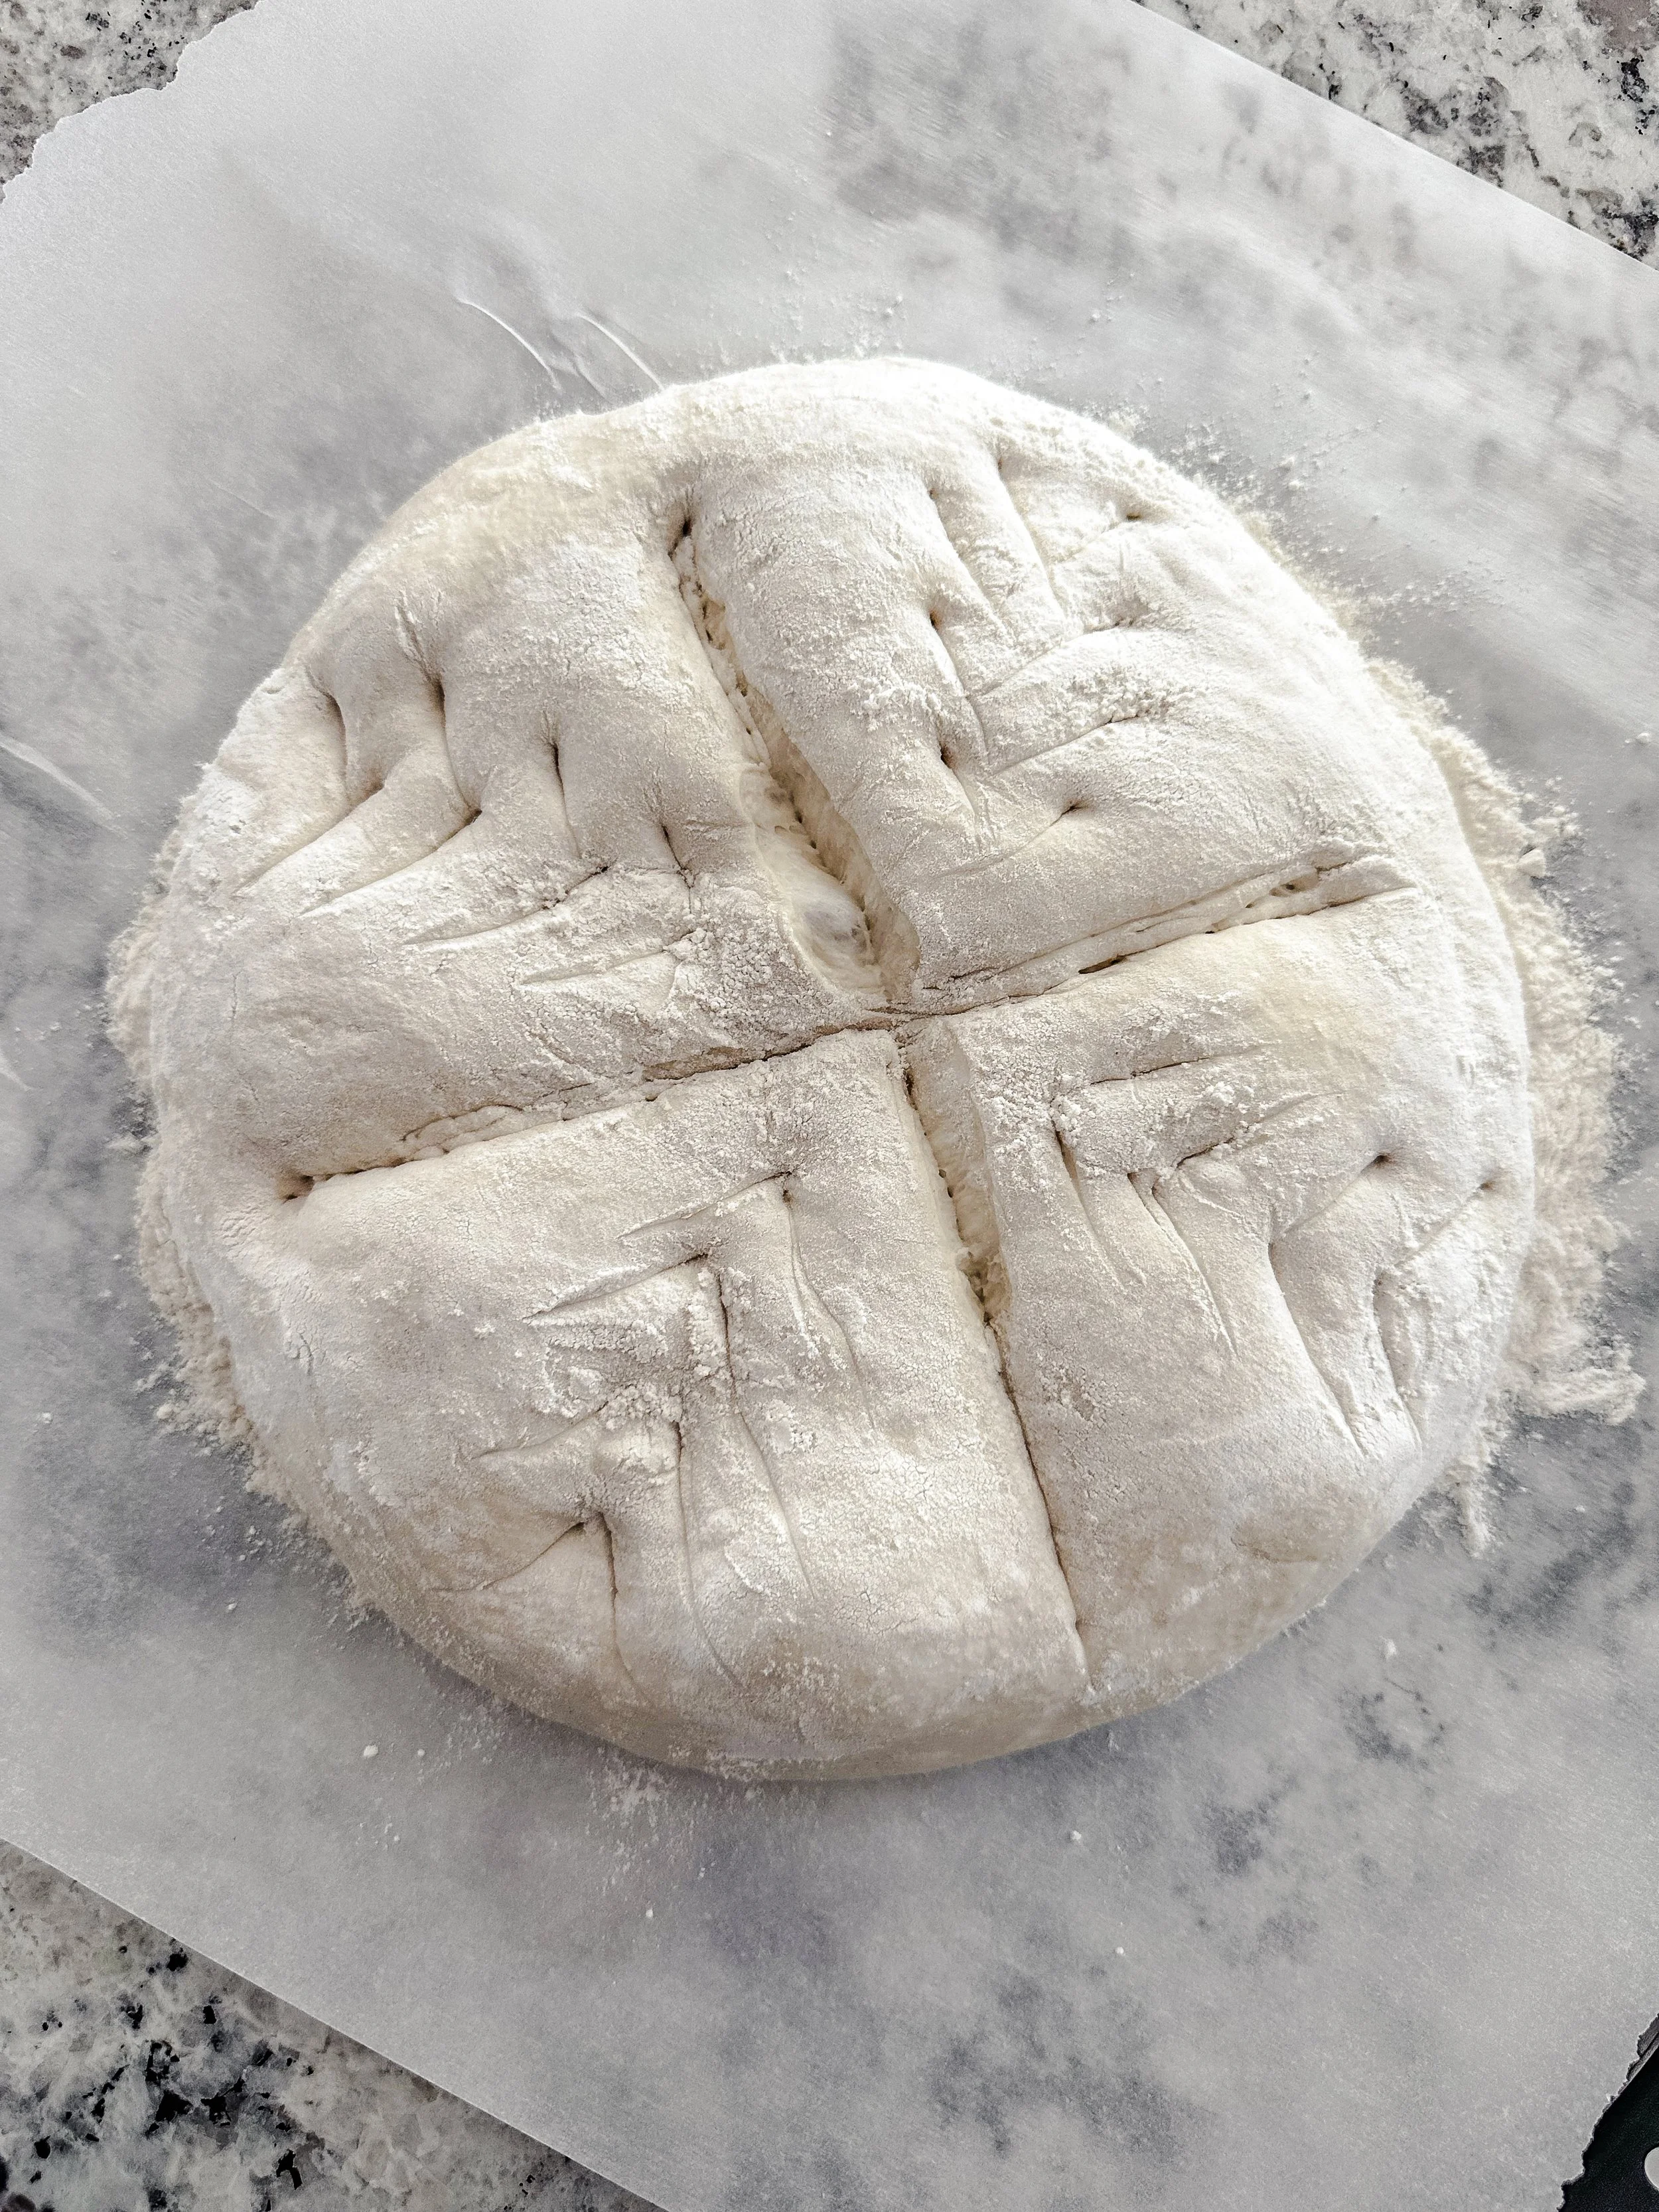
Sprinkle a little flour on top. I love to use rice flour as it makes the bread look so much prettier!!!!
Using a sharp pairing knife or razor blade; score your bread. There are SO many designs you can do here!
Add some uncooked rice to your dutch oven. Place dough and parchment paper into dutch oven.
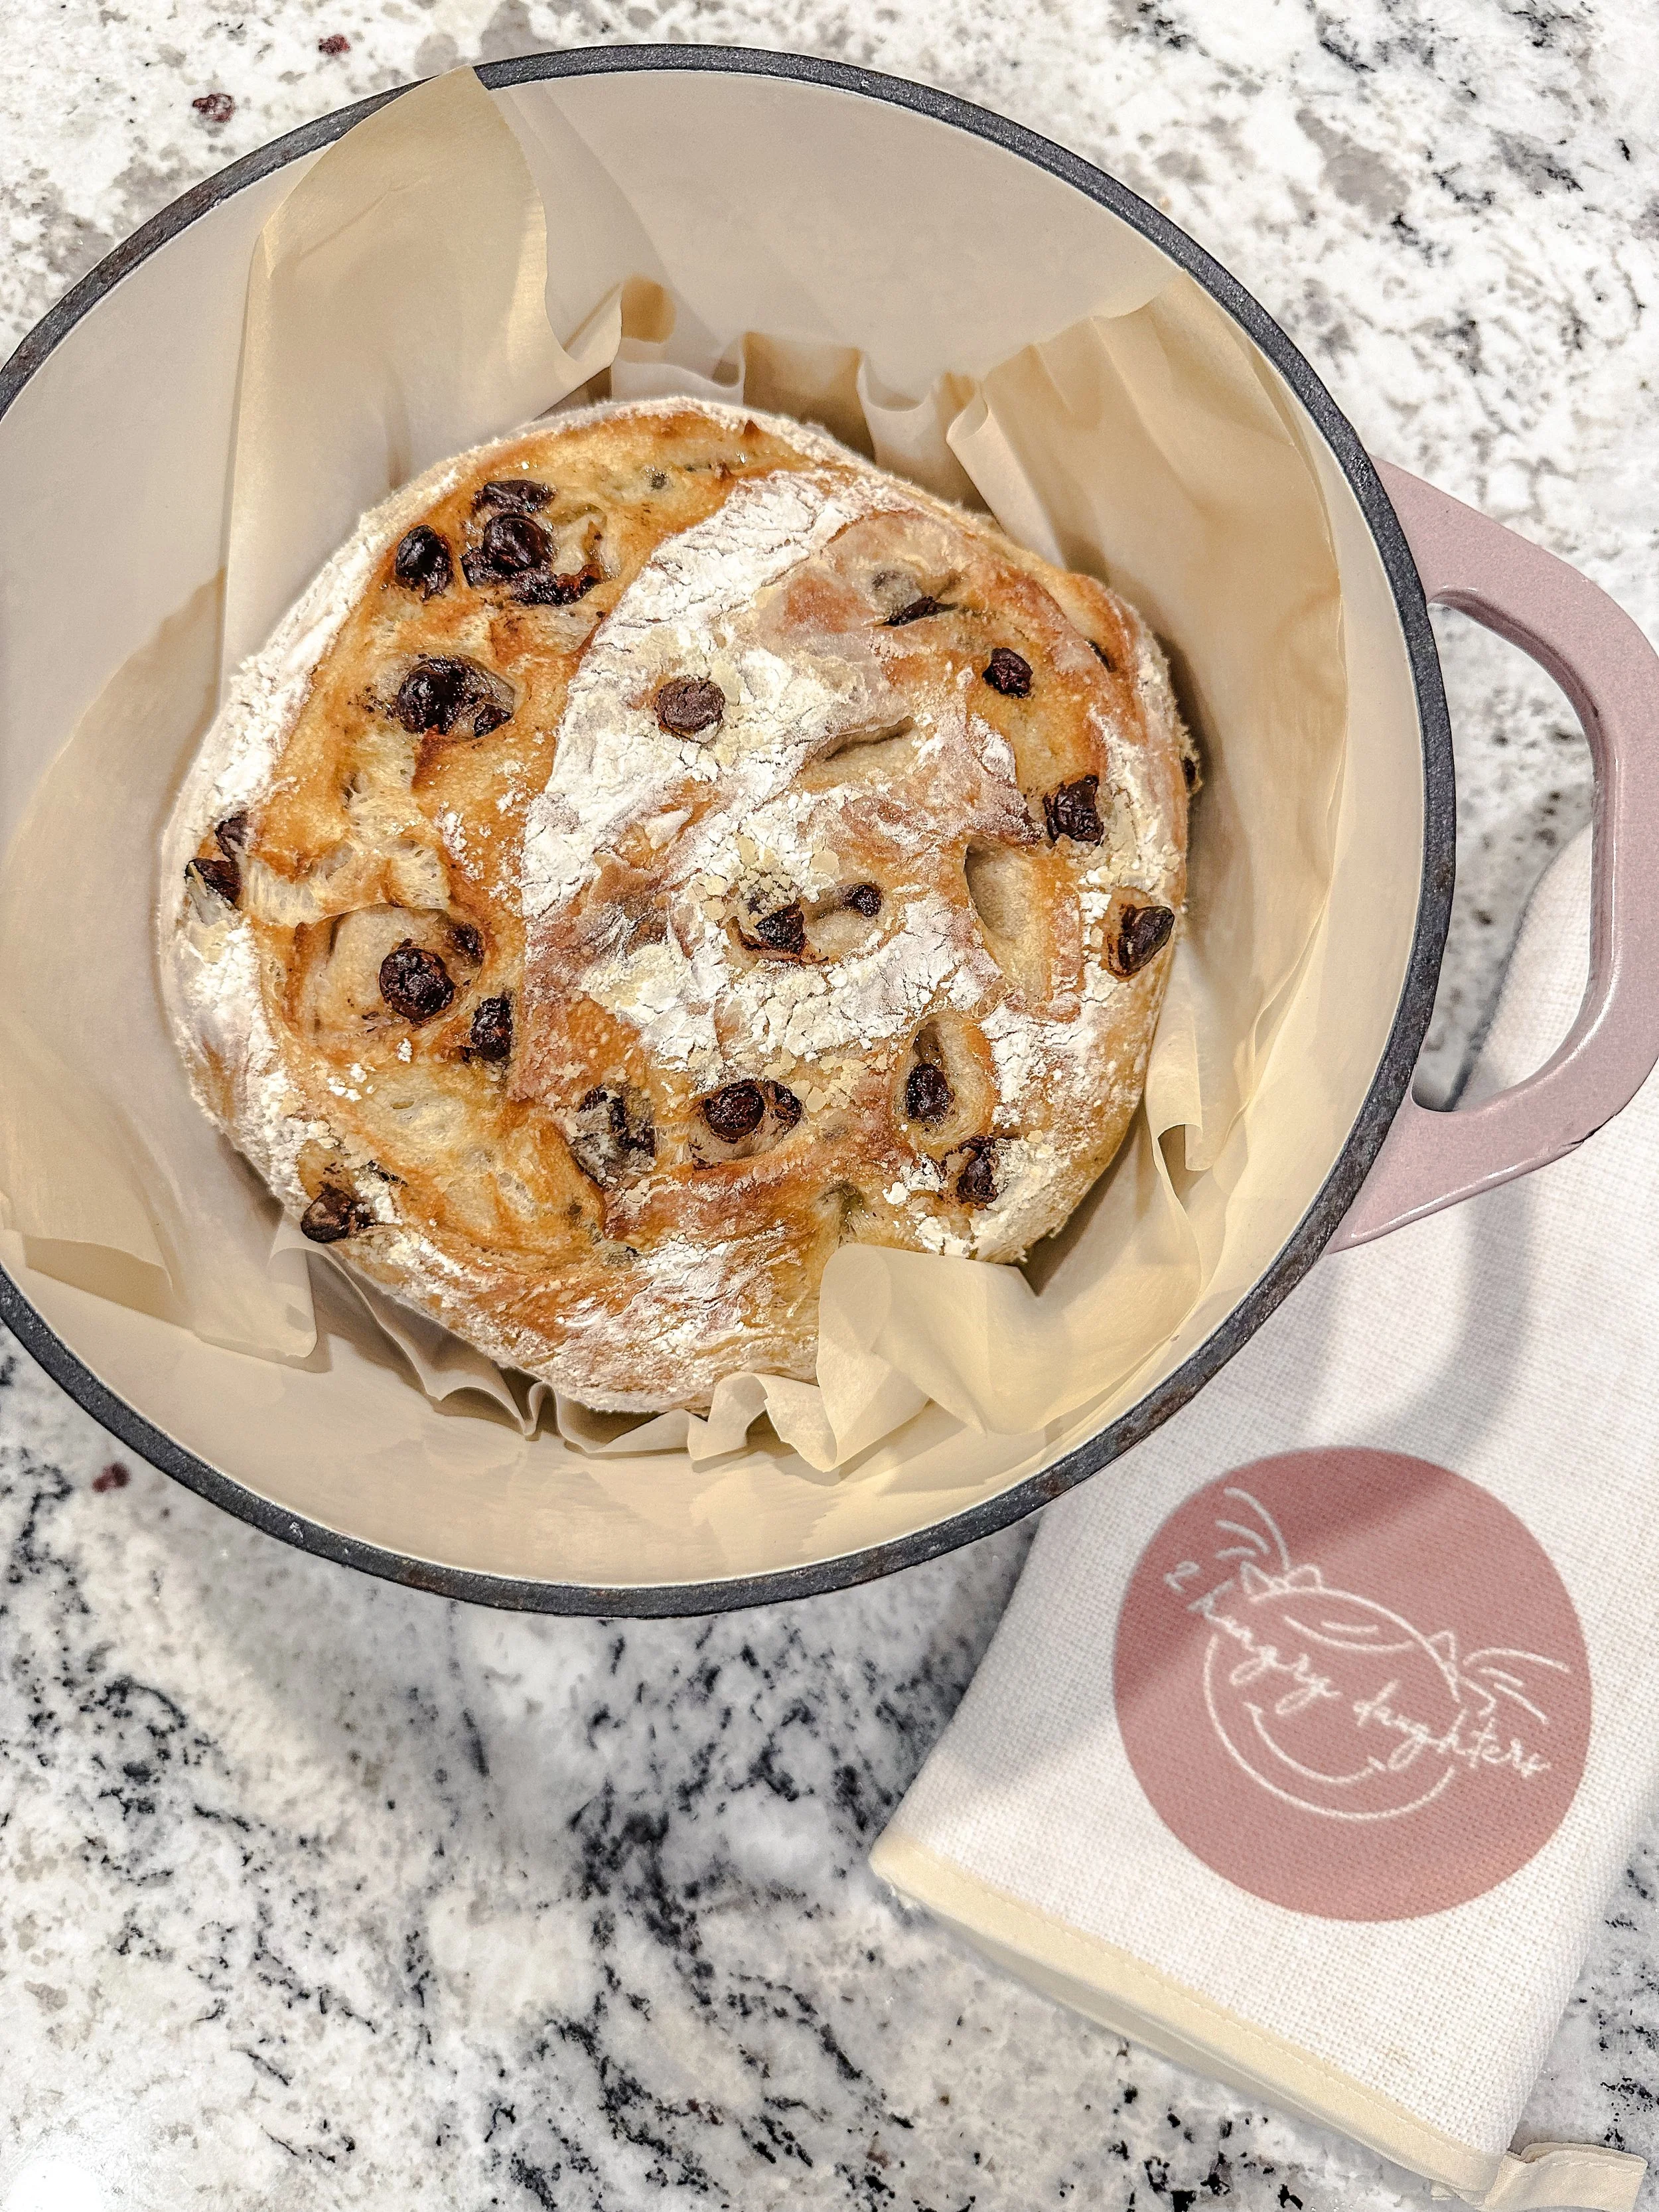
Turn oven down to 450 degrees and bake for 20 minutes.
Take the cover off and bake for another 15-18 minutes; depending on your oven.
Take out, let cool COMPLETELY on a wire rack.
ENJOY!